

The revival and sealing of external wood is not only a question of aesthetics (although a freshly stained terrace is incredible!) – It is an essential maintenance which extends the life of your wooden surfaces and protects your investment.
The arrival of warmer weather has always impatient me to refresh my outdoor spaces. If you have noticed that your terrace, porch or wood furniture looks a little altered after enduring months of difficult conditions, you are not alone!
As a person who has learned a lot of tests and errors, I am delighted to guide you through this step -by -step process.
Whether you are a seasoned handyman or you attack this project for the first time, my goal is to make this task accessible and absolutely doable.
Let us transform these surfaces into tired wood into refreshed exterior functionality that you will be proud to show!
Why respect and sealing are questions
Before diving into the user manual, let's explain why this maintenance is so important. Outdoor wood faces difficult challenges:
- Constant exposure to UV rays of the sun causes discoloration and drying
- The humidity of rain and humidity leads to deformation and rot
- Temperature fluctuations create expansion and contracts that weaken wood over time
- Dirt, mold and mildew can permanently color unprotected surfaces
The coloring and sealing correctly create a protective barrier which protects these elements while improving the natural beauty of wood.
In addition, it is much more affordable than replacing your terrace or furniture on the road!
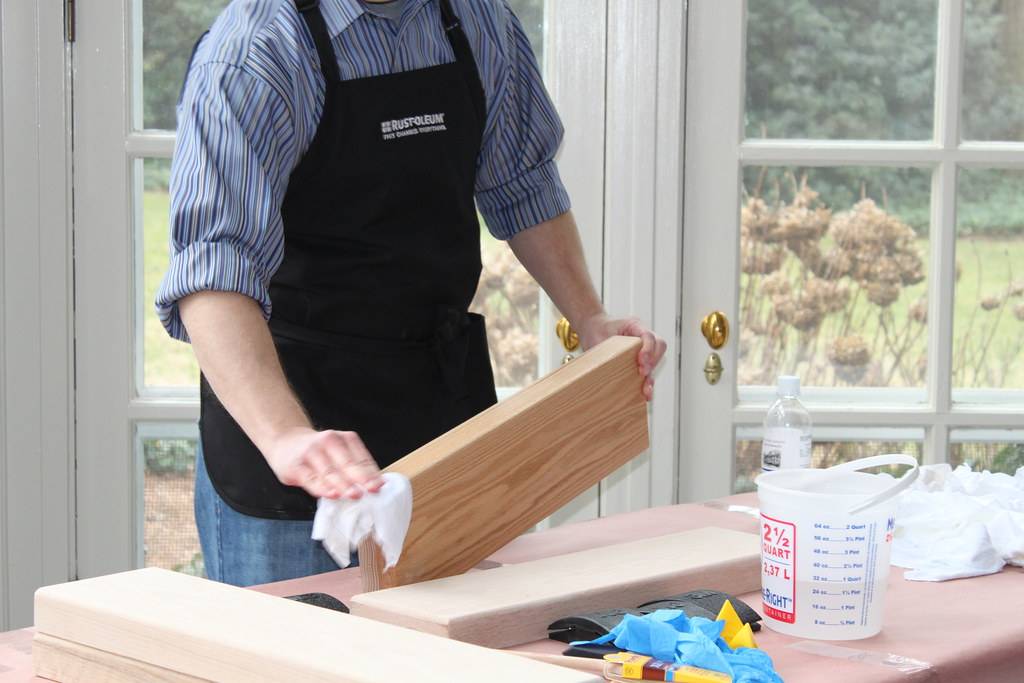
Gather your supplies
Here is what you will need to start:
- Broom and brush for cleaning
- Garden pipe or pressure washer
- Wooden cleaning (looking for one specially for outdoor wood)
- Smart paper paper (80-120)
- Wooden coloring in the color of your choice (oil -based or water -based)
- Waterproof seal compatible with your task
- Brush, rollers or paint sprayer
- Clean rags
- Plastic tarpaulins to protect the surrounding areas
- Gloves and eye protection
I recommend checking the weather forecast before starting this project.
You will want at least 2 to 3 days of dry time with temperatures between 50 and 90 ° F for optimal results.
Step 1: Erase and clean the surface
First of all, we have to start with a clean slate. Here's how I approach this important preparation work:
- Remove all the furniture, planters and other items in the area.
- Sweep the dirt, leaves and loose debris.
- Cover plants and surfaces nearby with plastic tarpaulins to protect them from cleaning solutions.
- Apply a wooden cleaner as a function of product instructions. I find that a bridge brush with rigid hair does wonders to eliminate the accumulated grime.
- For tenacious areas with mold or mildew, you may need a specialized cleaner with a little more power.
If you use a pressure washer, remember that it is once more power is not necessarily better!
Set it on low pressure (less than 1500 psi) to avoid damaging the wood fibers.
Keep the nozzle in motion and maintain a coherent distance from the surface.
Give the wood a lot of time to dry completely – at least 24 to 48 hours depending on the humidity levels.
This waiting period is crucial – the application of the wet stain of wood is a coat recipe and poor grip later.
Step 2: Inspect and repair
Once your surface is clean and dry, it is time for an in -depth inspection:
- Walk the whole area and search for damaged boards, bulk nails or salient screws.
- Replace all rotten or seriously damaged sections.
- Decorate the sautéed nails or replace them with bridge screws for more secure socket.
- Roaring areas of sand, bursts or spots where the previous finish is booming. You don't need to sand the entire surface, focus on problematic areas.
I like to go down to the eye level with the surface during the inspection – it's incredible what you can spot in this angle that you could miss when you stand!
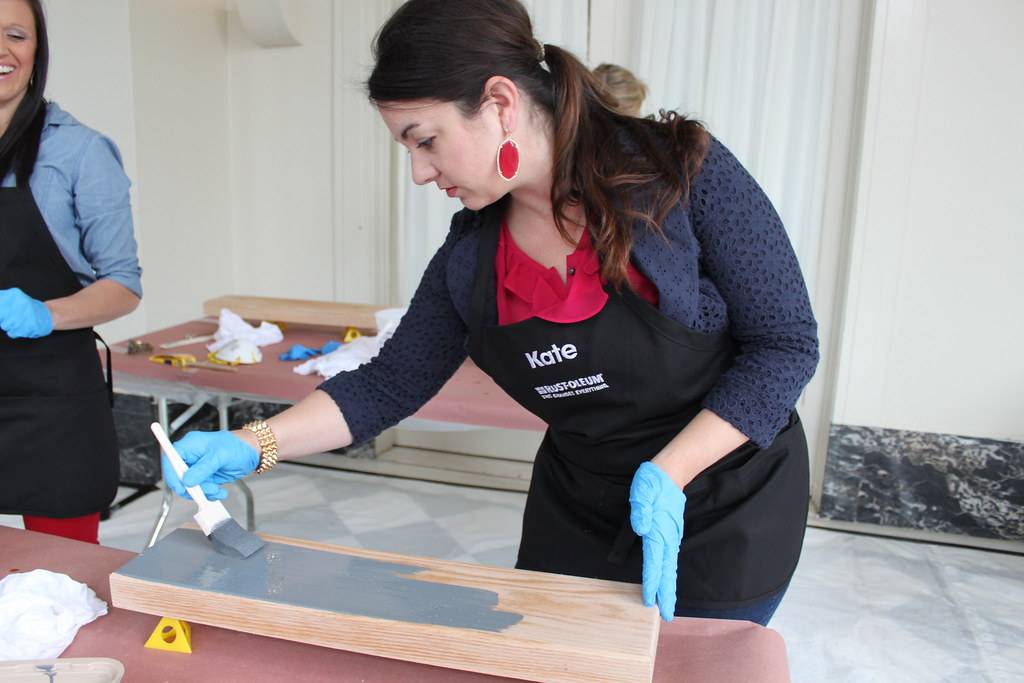
Step 3: Apply the wooden stain
Now for the transformative part – Applying a fresh spot! Here is my approach:
- Stir (do not shake) your task carefully before and sometimes during application to ensure a coherent color.
- Test the stain on a discreet area to confirm that you are satisfied with the color.
- Work in manageable sections, applying stains with your chosen tool – I prefer a brush for better control, but rollers or sprayers work well for large areas.
- Always follow the wood grain for the most natural results.
- Let the spot penetrate for the recommended time on the product (usually 5 to 15 minutes).
- Wipe the excess stains with clean rags. Don't jump for this step! The excess of spots that made puddles or is for too long creates a sticky and unequal finish difficult to repair.
For a uniform blanket, hold a “damp edge” by overlapping slightly with your previous section. This prevents Tour marks and ensures a uniform appearance.
Remember that wood acts like a sponge – the first layer can soak quickly, especially if your wood is older or has not been treated for some time.
You might need a second layer for a deeper color, but always allow the first layer to dry completely according to the manufacturer's instructions.
Step 4: Seal for protection
The final and crucial step is to apply a waterproof seal. This creates the protective barrier that will protect your wood from humidity:
- Choose a seal compatible with your task. Many products now combine the stain and the sealer, but if you use separate products, check compatibility.
- Apply the sealer evenly with a brush, a roll or a sprayer, following the grain of the wood.
- Pay additional attention to the final grains, joints and high traffic areas, which generally need more protection.
- Apply at least two layers for maximum durability, which allows a good drying time between the layers.
When you apply a seal, the less is often more. The thin layers, even the layers offer better protection than a thick layer which may not cure properly.
And don't forget these vertical surfaces!
The railings and the post are often the first to show wear because the water goes down and swimming pools at the base.
Maintenance tips to extend the life of your work
Now that you have invested time and efforts with respecting and selling your outdoor wood, here is how to make these results last:
- Regularly clean your wooden surfaces with a soft soap and a water solution
- Remove the leaves and debris that can trap humidity against wood
- Retouch high traffic areas if necessary rather than waiting for a complete overhaul
- Plan to reapply the sealer every 1 to 2 years, even if you don't need to restrict yourself
- Consider applying a water repellent each year in the regions with strong precipitation
According to my experience, doing a quick annual assessment every spring helps take small problems before becoming big problems.
When to call professionals
Although respect and sealing are definitely a project adapted to DIY, there are times when calling the pros is logical:
- If you have an extremely large or several level decks
- When they deal with exotic hardwoods that require specialized products
- If your wood has significant damage requiring structural repairs
- When physical limitations make the project difficult to finish safely
Do not hesitate to obtain professionals of professionals if you are not sure – sometimes time and stress saved are worth the investment!
The reward for your efforts
There is something incredibly satisfactory to take a step back and admire a terrace or a freshly restored wooden porch.
Beyond the practical advantages of extending the lifespan of your outdoor spaces, the visual transformation is immediate and impactful.
I love the way in which a well -maintained wooden surface adds heat and character to external living spaces which simply cannot be matched by synthetic materials.
Have you ever approached this project? I would love to hear your experiences in the comments below!